
learn new skills, broaden your knowledge, and achieve your goals
Locks
3 ways to make a lockable book for your live escape room
In this tutorial I am going to show you three ways to make a lockable book for your live escape room: a pretty one, an easy one and a lazy one. All you need is an old dog leash, 2 paper clips, a hole puncher and of course some padlocks.
Installing a magnetic lock in a box
In this tutorial I am going to show you how to install a magnetic lock in a regular cardboard box.
Magnetic locks are low-tech locks and can be found in nearly any store that offers baby products. Their primary purpose is to prevent kids from accessing cabinets and drawers.
You will need:
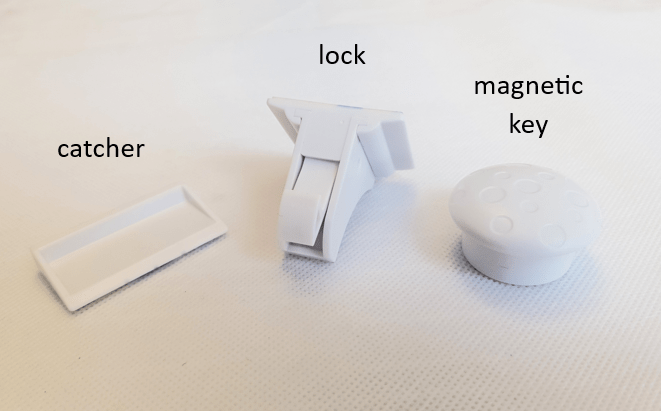
A magnetic lock set.
They consist of a catcher, a lock and a magnetic key and usually come with a mounting mechanism to make sure that the catcher and the lock are aligned during installation.
Steps:
In this tutorial, the catcher is at the front side of my cardboard box and the lock is on top so the lock mechanism and thus the key can go on top of the box. I advise to position the catcher and the lock where you want them before you commit to gluing them.
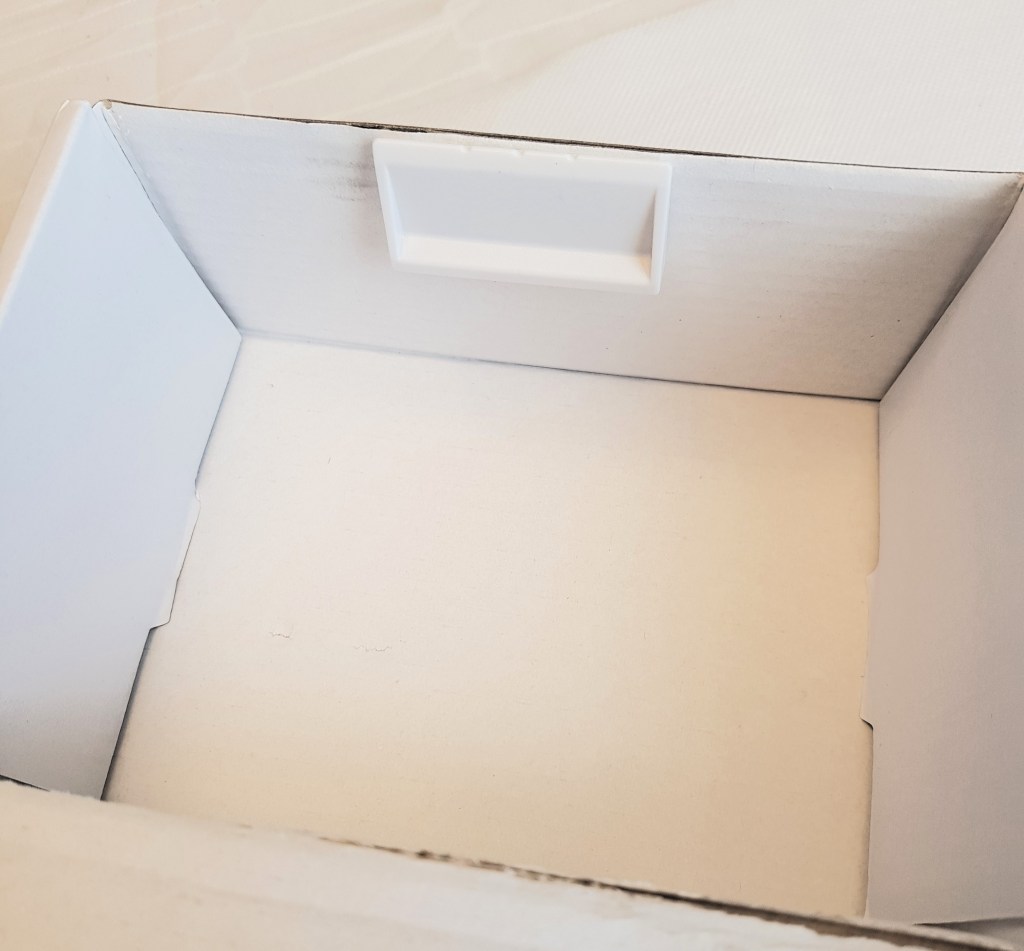
After removing the adhesive tape, glue the catcher to the upper end of the front side of the box.
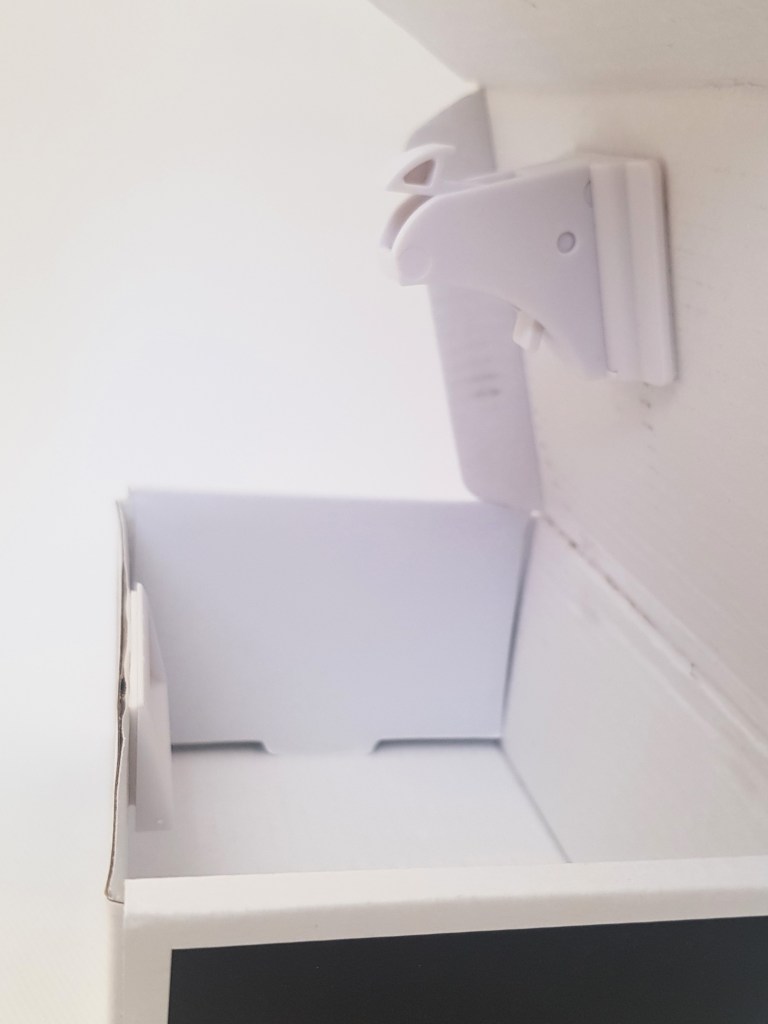
Insert the mounting bracket onto the catcher. Insert the lock into the mounting bracket and remove the adhesive tape.
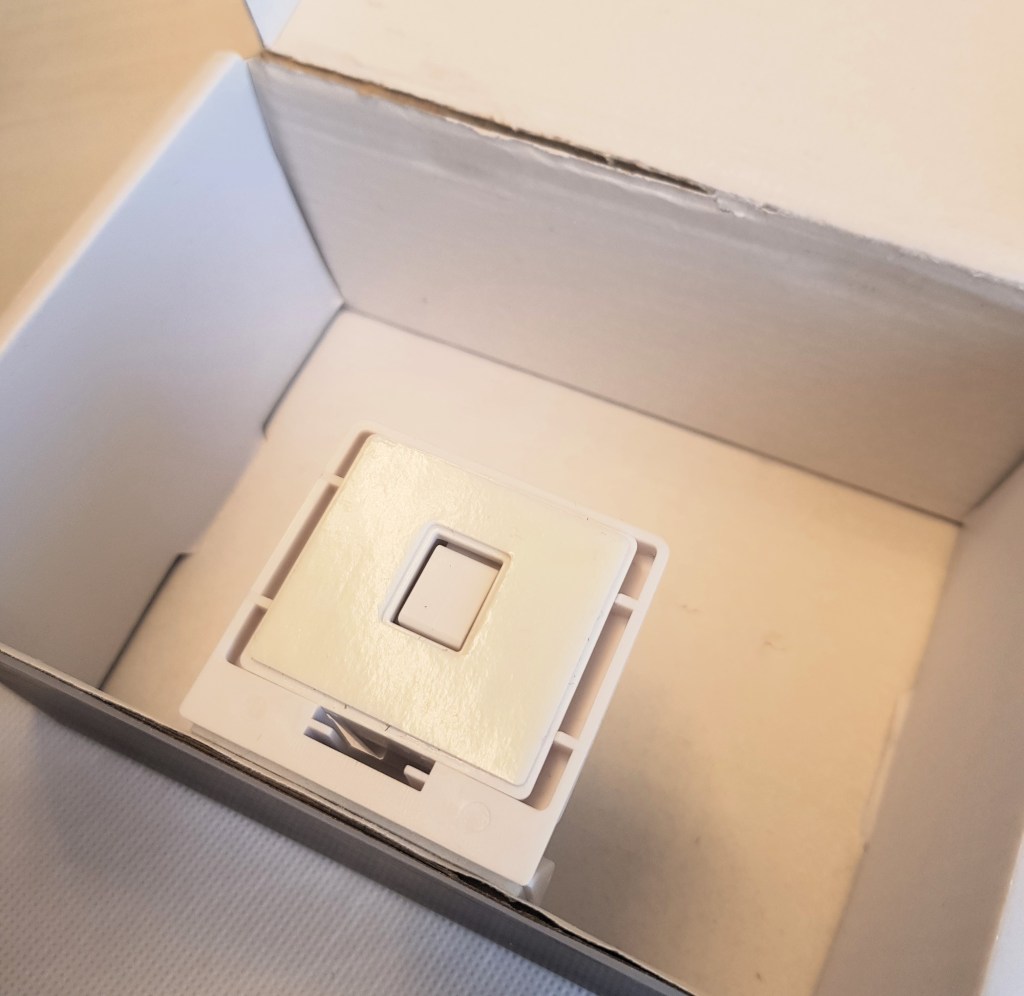
Close the lid of the box firmly in order for the lock to stick to the lid.
The box can now only be opened when the magnetic key is placed on top of the lock. Decorate the box and the magnetic key so your participants know where to place it. Hide the key and distribute the necessary clues to ensure that box and key come together.

DIY security cable
In this tutorial I am going to show you how to make and install your own security cable. One end of the security cable will be attached to the item you want to secure, such as a container. The cable is then will be passed through both the container and its lid. Once secured with a padlock, it effectively binds them together until the lock is released.

You will need:
- 1 container (I took an empty whisky tube)
- wire or string
- 1 padlock
- 1 dowel (or another sturdy object to keep the wire in place)
- a hammer, a nail and some tape
Steps:
Use the hammer and the nail to punch a hole through the bottom of the container.
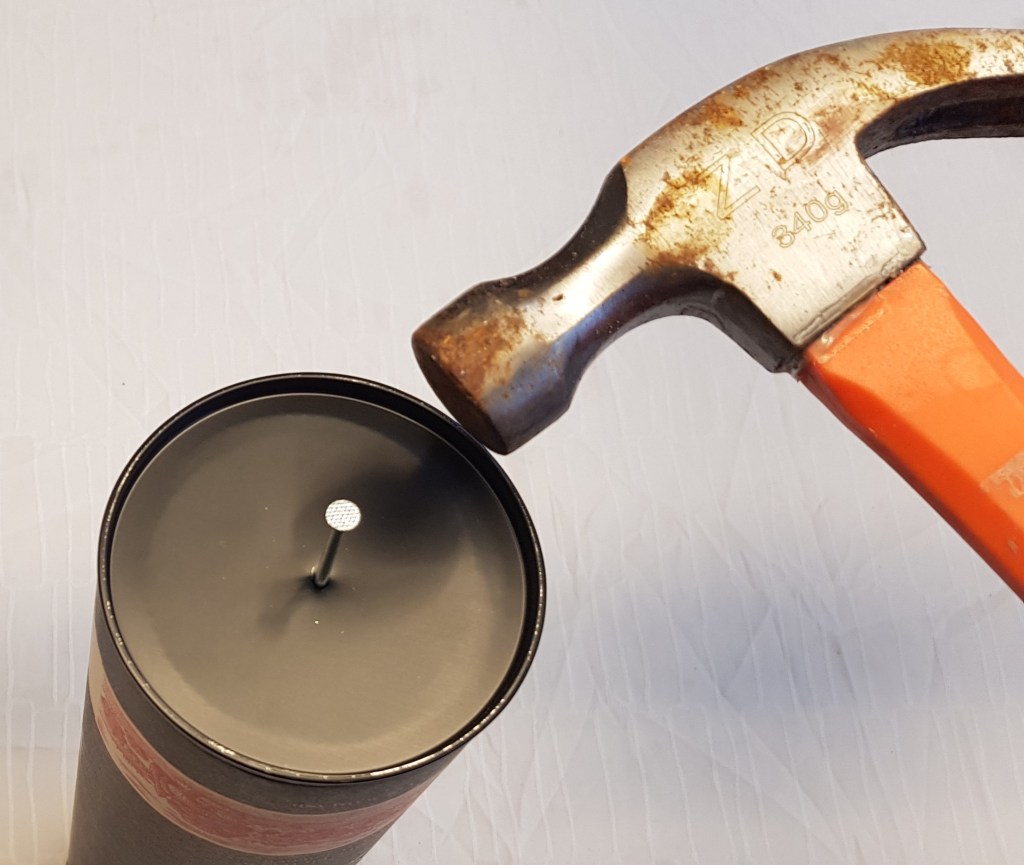
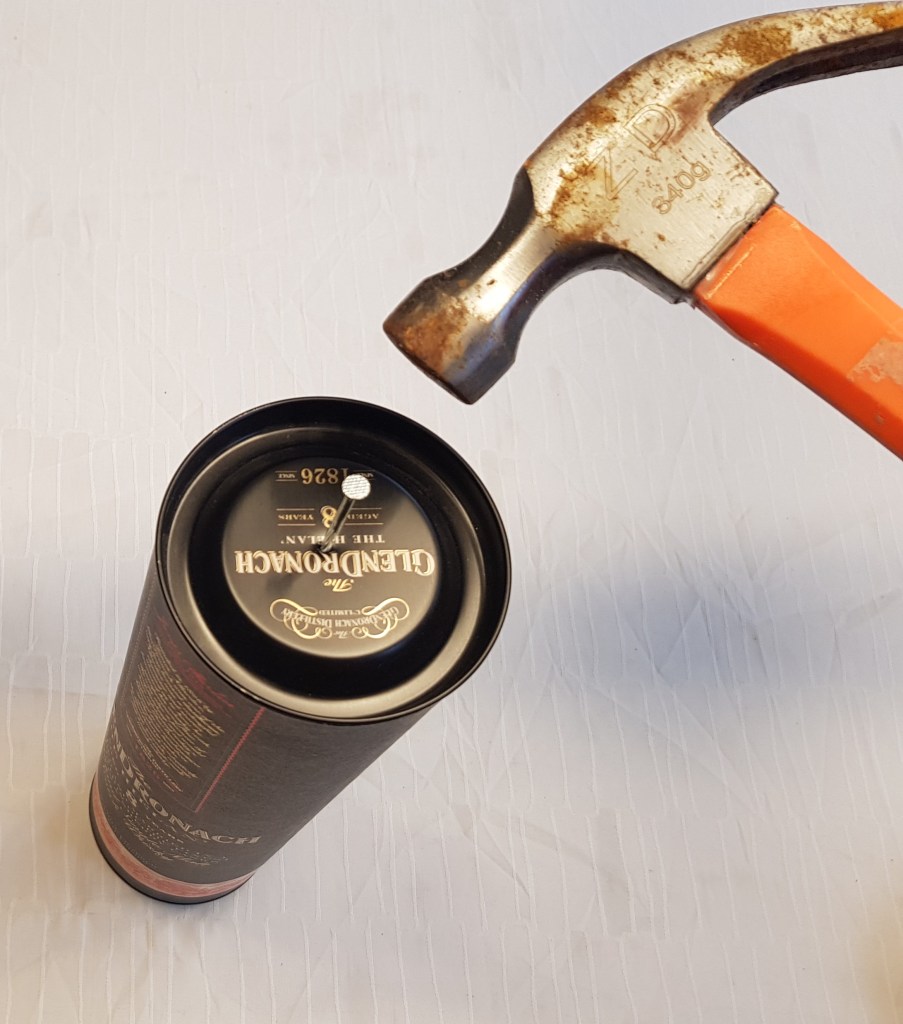
Repeat for the top.
Slide one end of the wire through the hole in the bottom. Create a loop at the end of the wire and secure it by wrapping the tape around it.

Stick the dowel through the loop in order to prevent the wire from sliding through the hole.
Secure the dowel with tape.
Repeat the loop making process for the end of the wire that goes through the top. Before cutting the wire, make sure the upper end of the loop just peeks out of the hole enough to slide the padlock through it.
Once the padlock is in place, the lid can only be removed by removing the padlock.

Puzzles
Setting up a weighing puzzle
Objective:
Players need to weigh differently colored cubes in order to find out the weight of each color. The numbers can be used to unlock a combination lock.

For this puzzle you will need:
- 1 balance scale
- 10 cubes: 5 colors – two of each
- weights (for example fishing weights or tungsten cubes) that can be hidden inside the cubes
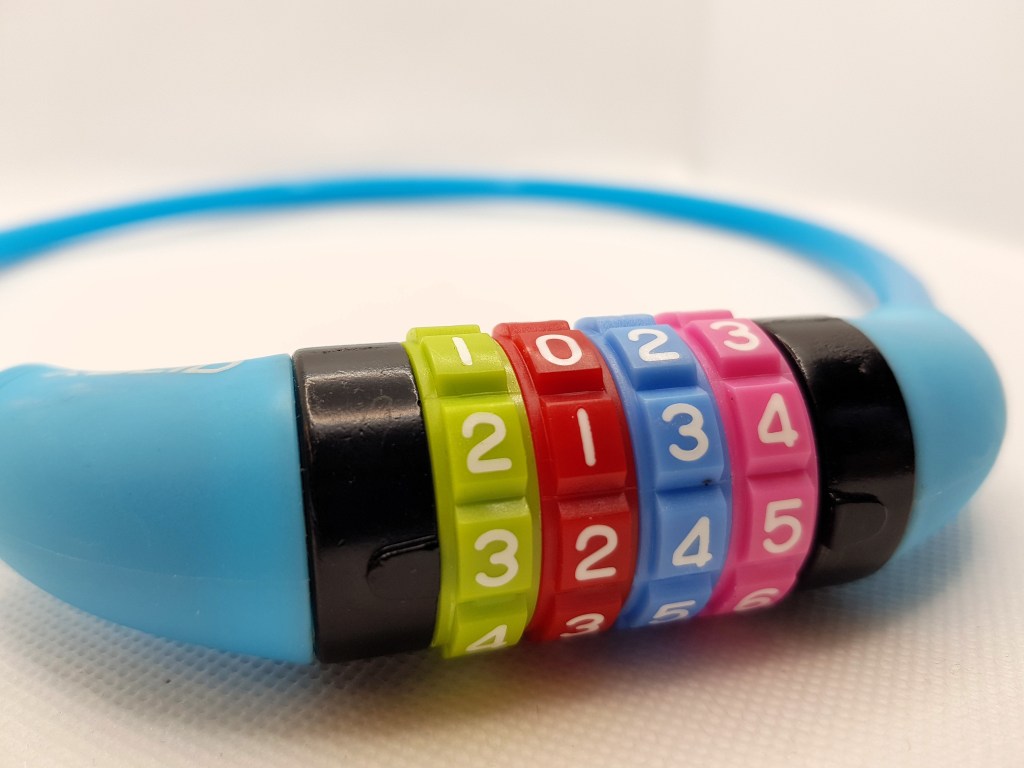
- 1 color combination lock (or a combination lock you can color code yourself)


Setup:
Cubes of each color have the same weight.
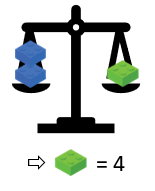
The weight of each color, however, is different. In this example, red weighs 3, orange weighs 9, yellow weighs 8, green weighs 4 and blue weighs two.

The only information that is given to the participants is that the blue cube weighs 2.
Puzzle solving process:
By weighing, the players can find out that 2 blue cubes are equal to one green cube, so green must weigh 4.
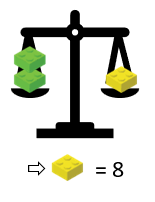
After that, players can find out that two green cubes are equal to one yellow cube, so yellow must weigh eight.
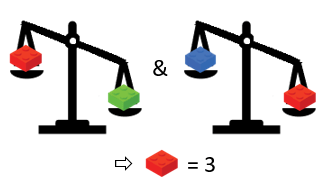
Now it gets a little more tricky, because red is not a combination of any of the known numbers. However, by comparing red, green and blue, players can find out that red is heavier than green and blue is heavier than red, making red equal to 3.
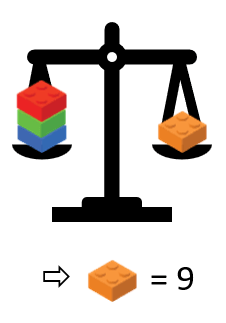

There are two ways for players to figure out orange:
1. Orange weighs as much as blue (2), red (3) and green (4) combined, which is 9.
2. Orange is heavier than yellow (8) but the weight of orange cannot be higher than nine, because a combination padlock only features digits from 1 to 9. So orange must be 9.
After they have figured out all of the weights, players need to enter the numbers into the color coded combination lock.
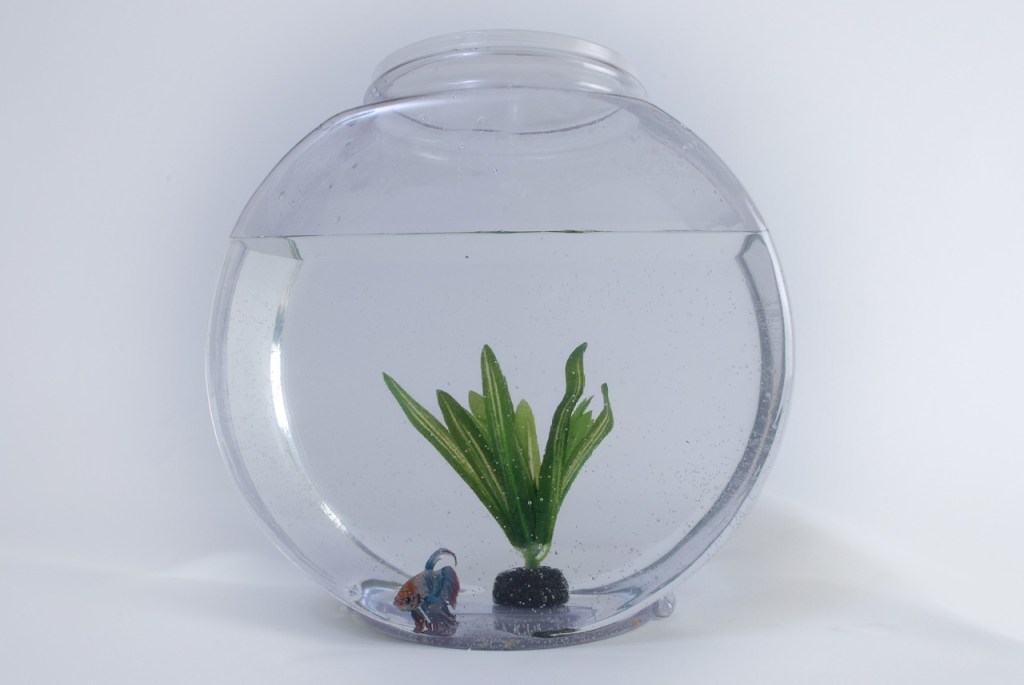
Making a magnetic fishing game
Objective:
Paper fish filled with metallic paper clips must be caught with a magnetic rod. The numbers, symbols or letters on the fish provide a code.
For this puzzle you will need:
- 1 open container serving as fish tank (and optionally another container serving as a tank for the “caught” fish)
- 1 (color) combination lock (digits, words or symbols)
- colored paper (or felt)
- 3-4 metallic paper clips (depending on how many digits your lock has)
- 1 magnet
- 1 string
- 1 stick
- scissors, glue and marker
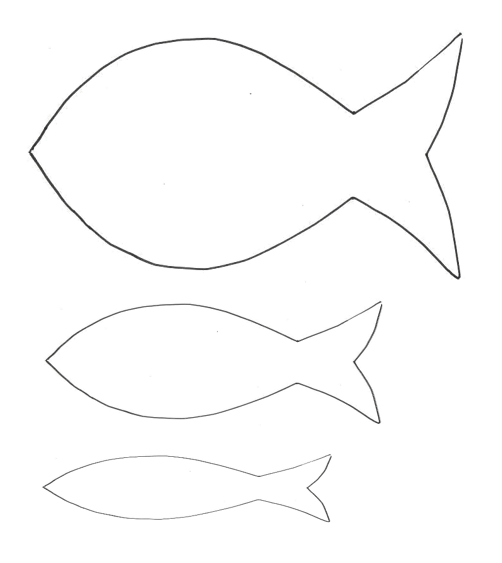
- optional: templates (📥 download)


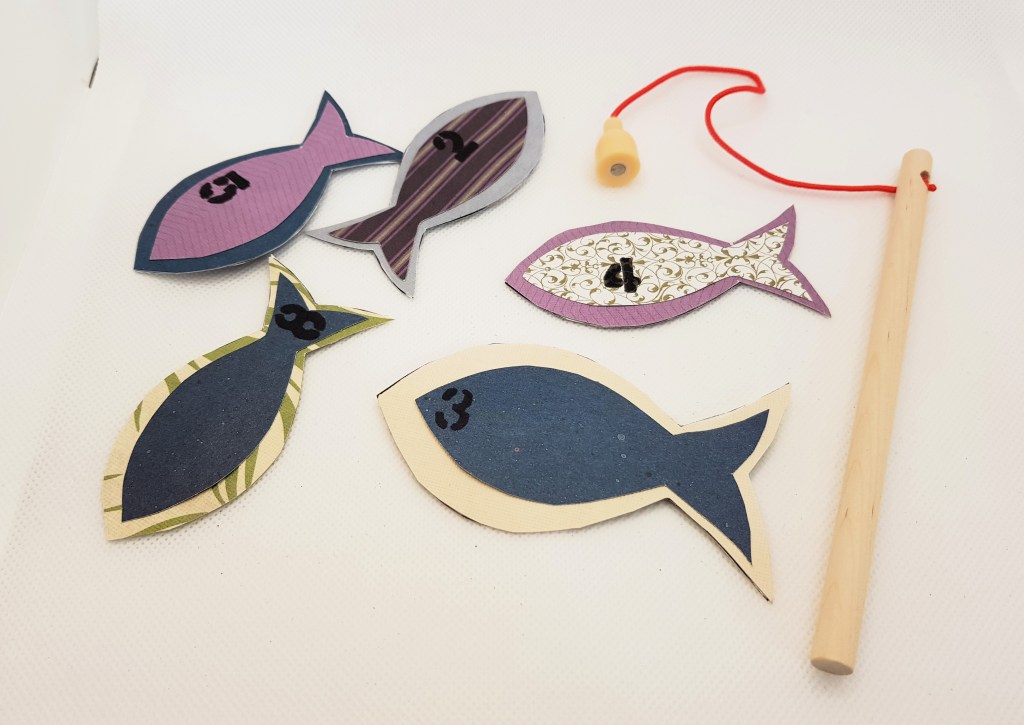

Steps
- Cut out multiple fish of different sizes and colors. You can either use the colors of your color combination lock or color code a combination lock yourself with the same colored paper you use for the fish. (If you are not using a colored lock, the color of the fish does not matter, only the size.) To make one fish, you will need two fish cutouts.
- To make the fish which carry the code, put one metallic paper clip between two fish cutouts and glue them together. Make as many magnetic fish as you have numbers on your lock. Make sure that they either each represent a color on your lock or that they are all of a different size.
- For the decoys, instead of a paper clip, use some (folded) leftover paper. Players shouldn’t be able to tell the difference between the magnetic fish and the decoys.
- To make the fishing rod, tie or glue the magnet to the string and tie the string to the stick.
- Depending on your lock, randomly write the corresponding numbers, letters or symbols on all of the fish (including the decoys).
- Set your lock combination to the numbers, letters or symbols of your magnetic fish.
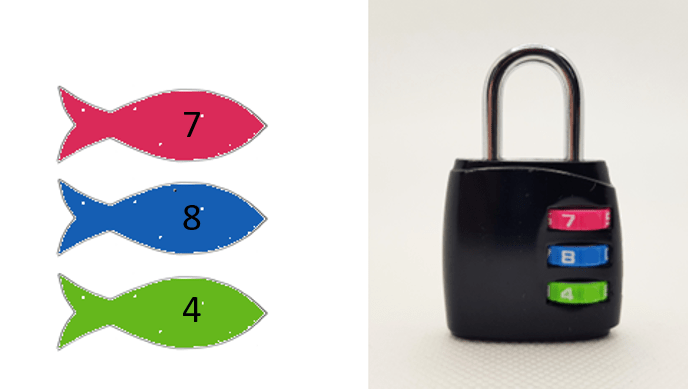
- If you have a color combination lock, make sure that the number on the fish, the color of the fish, and the color and number on the combination lock match.
- If you are not using any color code on you lock, players need a clue in order to figure out in which order the numbers are entered into the lock (e.g. largest fish corresponds to the number on the top, smallest fish corresponds to the number on the bottom), for example in the form of a prop (like a note).
- In order to set up the puzzle, place the fish into one container, distribute you clues and hide or lock up the fishing rod.
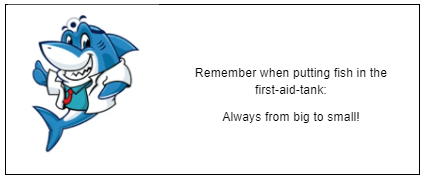
- Optionally, you can use another container (for example: the first aid tank) and mark it with instructions for the “caught” fish (for example: from big fish to small fish).

- Dont’ forget to use your lock on your next puzzle or the exit!
Making a smelling puzzle
Objective:
In this sensory-based puzzle, players must identify different smells in order to obtain a code.
For this puzzle you will need:
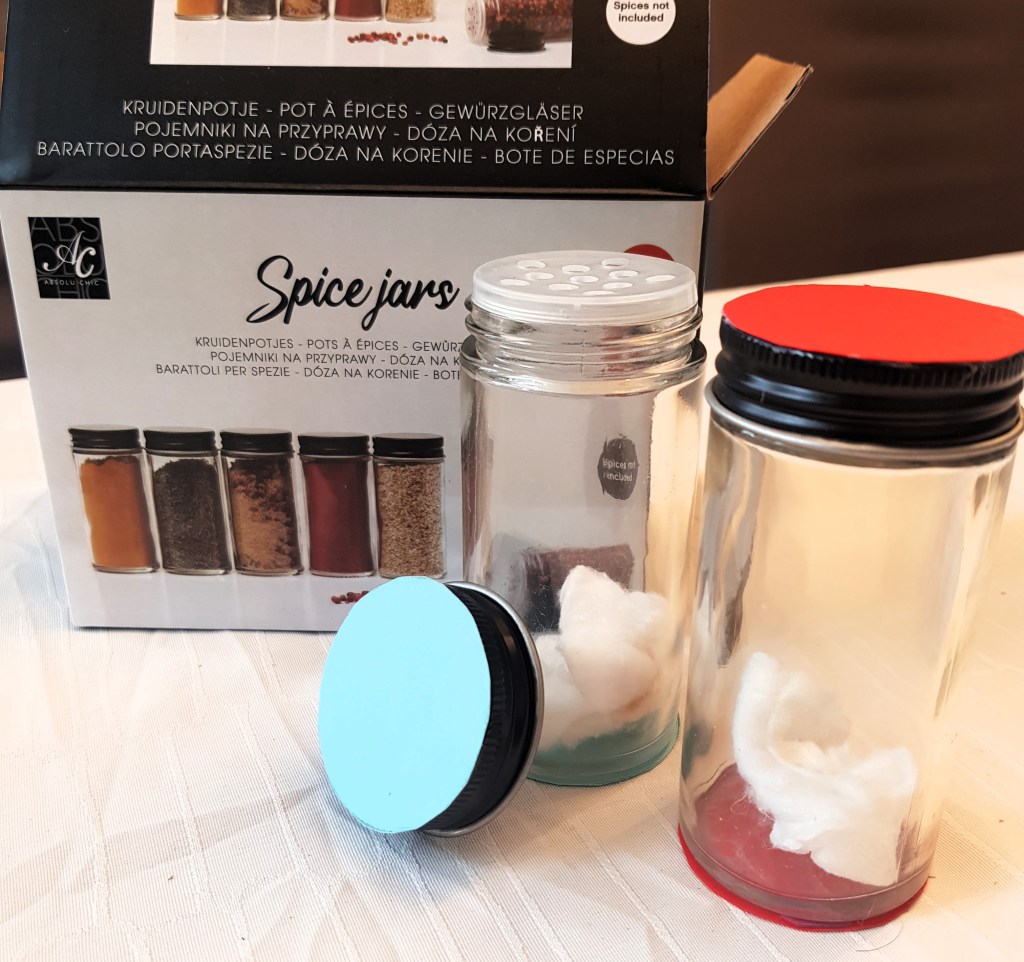
- 4-6 sealable containers (for example spice jars)
- basic, distinguishable scents (for example essential oils)
- cotton balls
- a color combination lock
- colored cardboard or marker which matches the color of your lock
- labels and a note (download template📥)
Steps:

- Spray some of the scent onto a cotton ball and place it in a container.
- Color code your containers. Make sure, all colors of your color combination lock are matched.
- If you have spare containers, they can act as decoys (they will get a number but this number will not be relevant for the code).

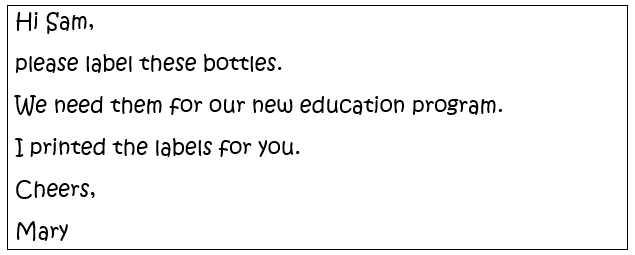

- (Adapt), print and cut out the note, where someone asks someone else to label the scent containers accordingly.
- (Adapt), print and cut out the labels (make sure not to cut the number from the scent name!).
- In your Escape Room, the note and the label should be placed close to the containers (I put mine in the box with the containers).
- Set your color combination lock according to the scents and the numbers they represent. For example: green = mint = 3 -> set the correct digit for the green dial to 3.
Props
In this tutorial I am going to show you four ways to make paper look old: tearing the edges, burning the edges, crumpling and coffee staining. All you need is some paper, a candle and cold coffee or tea in a shallow container.
